Infant Massage Tutorial: Part I
Infant massage is an incredible way to bond with your baby while giving them better sleep, and reducing gas and irritability. Win-win!

Part I:
The Warm-Up
In Part I, we’ll go over how to set the stage for your baby’s comfort as well as the warm up.
Then in Parts II and III, you’ll learn the main techniques. Let’s do it!
Getting Ready

The very first thing that you want to do is set the stage.
To make a comfy spot for your baby, put down some towels or some blankets on a table or firm surface.
Make sure that the room is nice and warm, and that it's cozy here on the massage table.
When we do massage in our office, we actually have a table warmer underneath so it's nice and warm.
A nice light, very simple, very clean scent - such as a French vanilla or French lavender candle - is also lovely.
You don't want anything that smells too chemically or too potent for this, since babies have a very light sense of smell. You want to just keep everything nice and light.
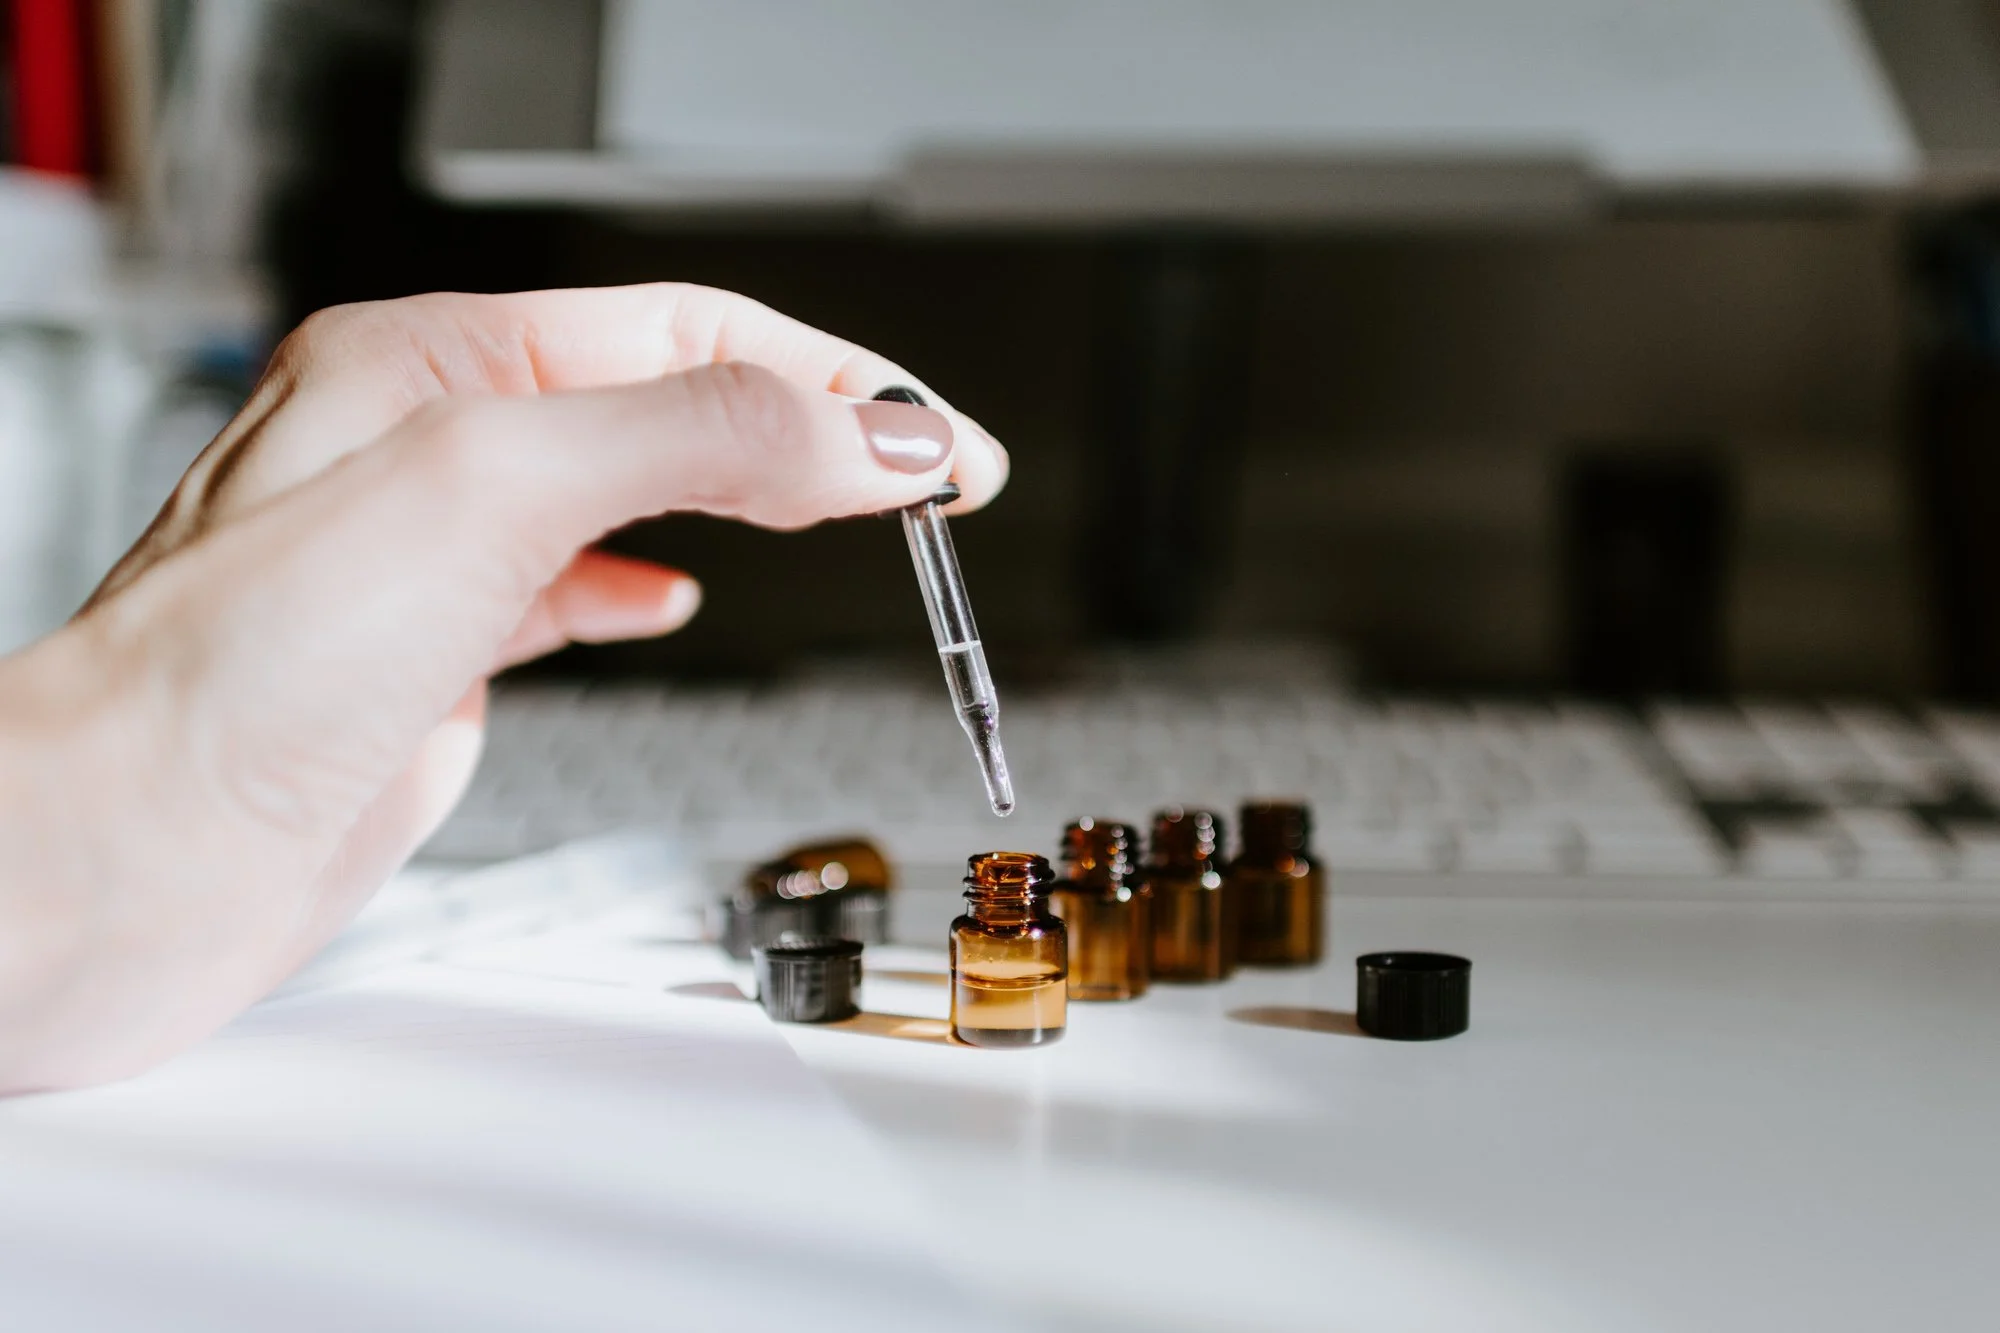
You also want a baby massage oil, and you can use any of the ones that are on the market or the lotion that you use regularly.
In our office, we blend our own using organic grapeseed oil and just one to two drops of lavender essential oils.
You can make your own as well, just make sure to use the tiniest amount of essential oils.
Create a cozy & warm, very lightly scented space
You can also do the infant massage right after bath when baby’s skin is nice and wet since we're going to apply a lotion or an oil afterwards.
A changing table is quite helpful, and if you have a changing pad you maybe want to have it underneath. Since we are going to stimulate digestion, there could be some elimination that happens on the table.
You also want to make sure that your baby has not eaten for about 30 minutes prior to the massage. Since we are going to stimulate digestion, they might spit up if it's been under 30 minutes.

Not all babies love massage. You’ll want to start slow, so the first day - start for five minutes, and then slowly build up say after day.
It’s also a really great idea to do it at the same time every day - for example,
after bathtime,
before bedtime,
or before naptime.
THE BASICS
We're going to start with the extremities - you're always going to start with the limbs and with the feet.
Make sure that the feet and the legs are always nice and supported, then take a nice flat hand and just massage all the way up, doing about 3-6 strokes on each side (see the video below for technique).
Another great move on the legs is to use a “ringing” motion:
make a little circle with your hands,
hold on to the feet,
& then ring all the way up.
Then come all the way back down and continue with that nice flat stroke again.
Then begin on the other side with the ringing motion, and the nice flat hand.
PRESSURE TECHNIQUE
When it comes to the amount of pressure to use, make sure to use a medium pressure. You don’t want a super light tickly pressure or too hard of a pressure.
Additionally, there have been some studies that have shown that a nice medium pressure massage for pre-term infants has proven to promote healthy weight gain!
When doing the ringing motion and going up over the knee joint, where the nice meaty tissue is, that’s where you want to pay special attention to the level of pressure. You especially never want to put too much pressure on any of the joints.
FEET & DIGESTION
Now we move to the feet, which have amazing effects elsewhere in the body!
Some babies have very ticklish feet, so if that is the case you don’t need to do foot massage.
Additionally, skip this step if they've had any shots within the last week.
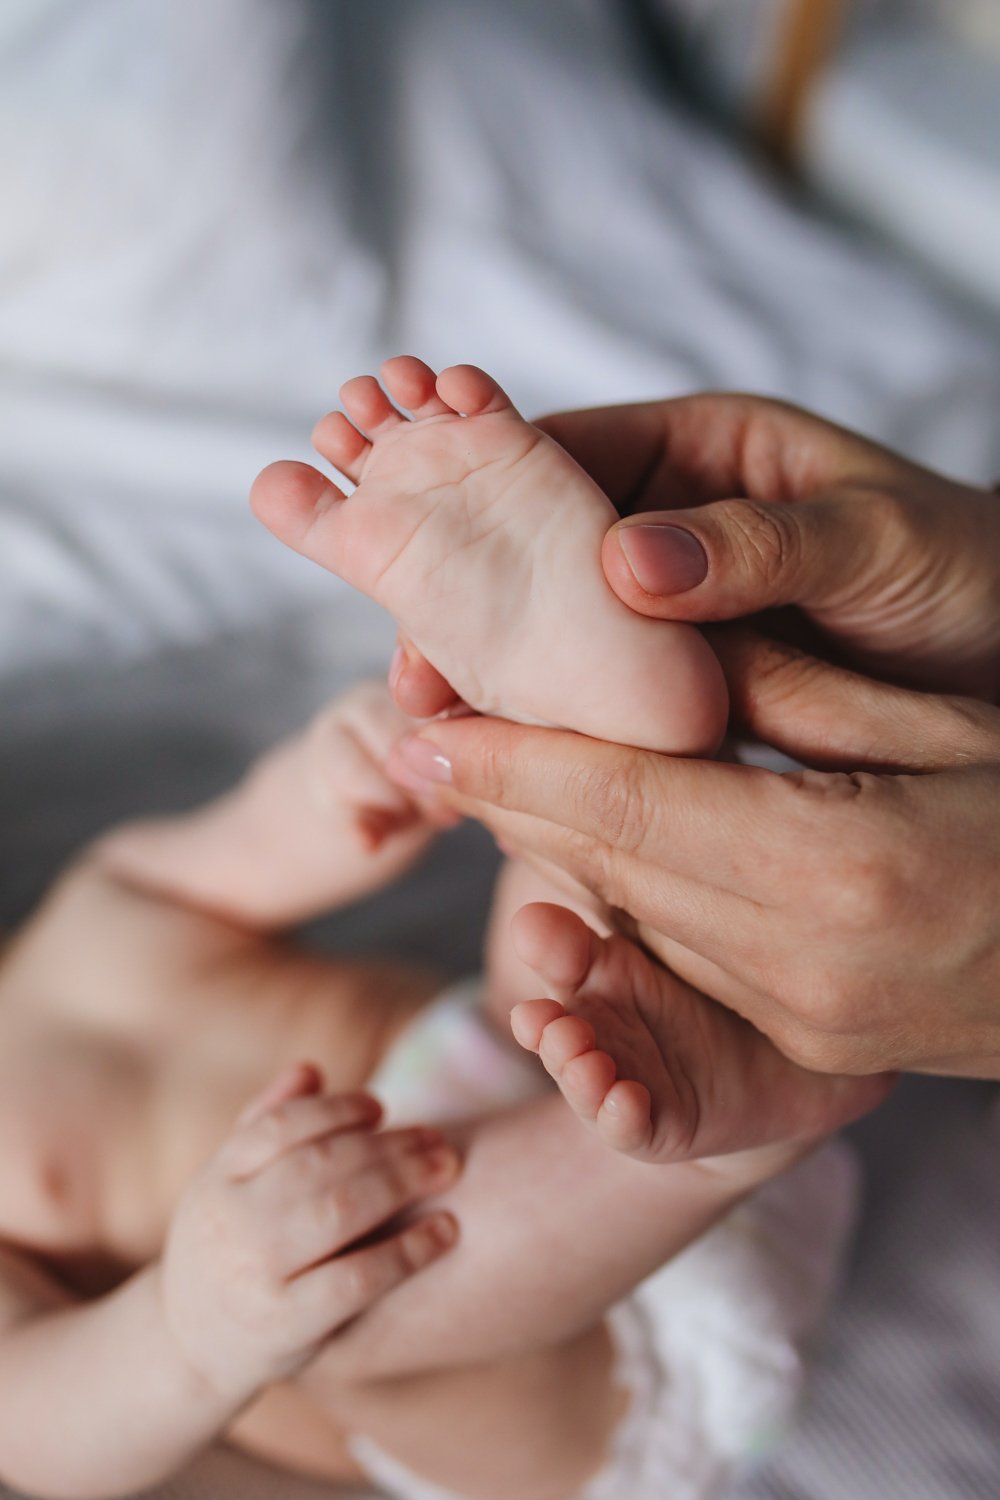
Your thumb is a great size for the bottom of baby’s foot.
Start at the heel and simply move straight up 3-6 times.
Then take small circles starting at the heel with your thumb, just moving all the way up.
You can also just go back and forth between your thumb and your pointer finger, stimulating the tops of the toes.
Come from the inside of the foot, and move in straight lines all the way across, moving back up and down again.
A great stroke anywhere in the middle of the foot will stimulate digestion!
Finish with just a bit of pressure from the thumb in the center of the foot.
Then gently rest that foot down, and repeat on the other foot!
Again, if your baby finds this too ticklish or uncomfortable, you can just stop at any time.
PASSIVE LIMB MOVEMENTS
Another great move is to do passive limb movements. You start by moving your fingers underneath the knee to help it bend.

Holding on to the front of of the leg with your thumb, and just bend and passively move it by bicycling the legs back and forth, giving it a little movement.
You can do them one at a time or both at once.
Then, pull both legs in and just rotate the hips around.
Hold the legs, and rotate around in circles for the hips both ways.
Then gently shake it out a little bit.
Now we'll move up to the belly with a flat hand.
Begin the motion from the midline, out to the side, then come around to baby’s bottom.
You can come around from the belly and cup baby’s bottom and do what we call a little Shimmy Shimmy Shake.
Do as many of those smoothing, gentle strokes from the belly to bottom as you want.
Infant massage is a great tool for the non-birthing parent
Doing infant massage is a really great bonding tool for the non-birthing parent as well as any other caretakers.
It's great for the birthing parent, of course, but this is a really great tool for any caretakers or non-birthing family members who want to bond a little bit more with the baby as well.
READY FOR PART II?
That was a great warm-up - half of our massage! - and now you’re ready for the main part. Head over to the next blog post and learn how to give your baby the rest of the massage to help with sleep, digestion, cognition, family bonding, and more.